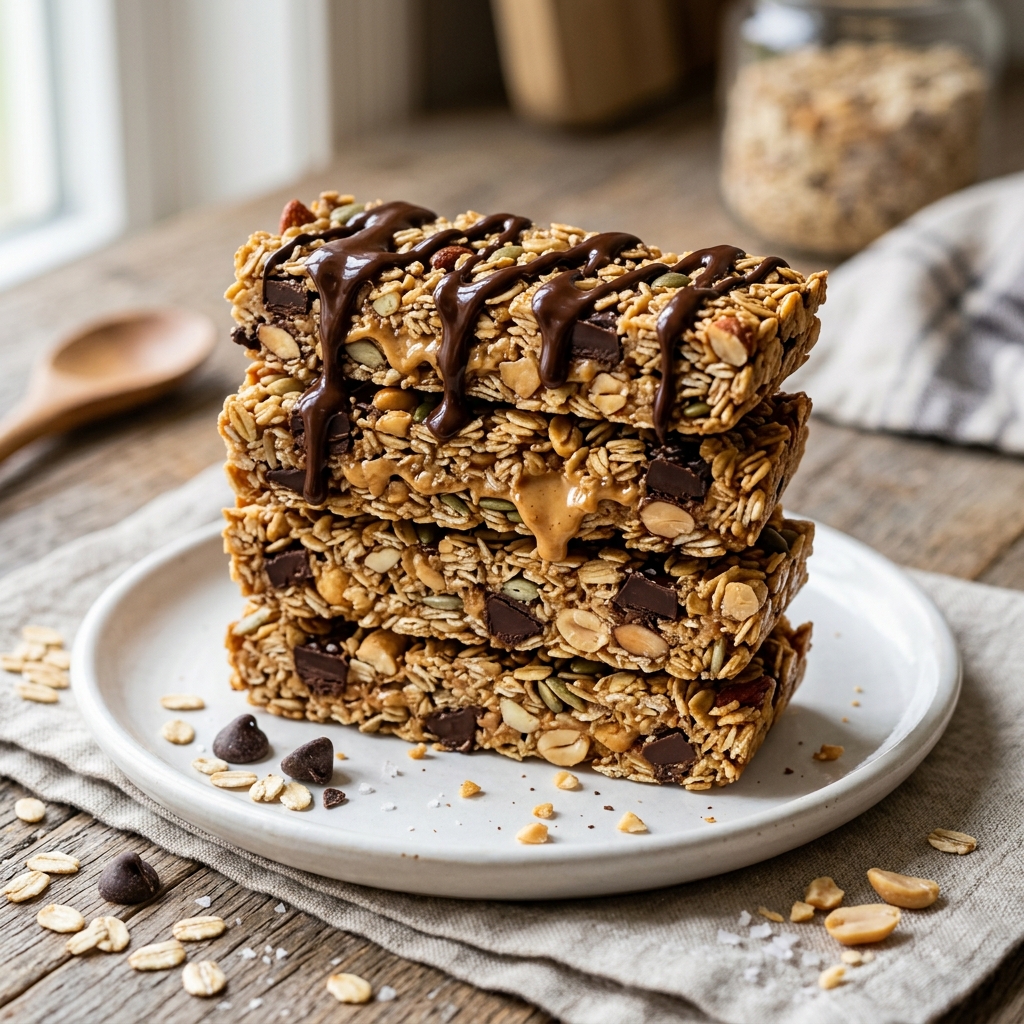
There’s something deeply satisfying about creating your own snacks from scratch—especially when they turn out better than anything you can buy in a store. Homemade granola bars with peanut butter and dark chocolate are one of those recipes that feel both indulgent and wholesome at the same time. They strike the perfect balance between chewy, crunchy, sweet, and slightly salty, making them irresistible for breakfast, a midday energy boost, or even a guilt-free dessert.
Unlike store-bought versions that are often loaded with preservatives and excess sugar, these homemade granola bars give you full control over every ingredient. You can taste the richness of real peanut butter, the depth of dark chocolate, and the natural nuttiness of oats in every bite. Plus, the texture is far superior—soft and chewy with just the right amount of crunch.
Why This Recipe Will Change Your Snack Game
If you’ve ever grabbed a granola bar on the go and felt underwhelmed, this recipe is about to completely reset your expectations. These bars are not just snacks—they’re a carefully layered experience. The oats provide a hearty base, the peanut butter binds everything together with creamy richness, and the dark chocolate adds a luxurious finish that elevates the entire recipe.
What makes this recipe even more exciting is its flexibility. Once you master the base technique, you can easily customize it to suit your taste, dietary needs, or whatever ingredients you have on hand. It’s a recipe that grows with you—simple enough for beginners, yet versatile enough for experienced home cooks who love to experiment.
Ingredients for Homemade Granola Bars with Peanut Butter and Dark Chocolate
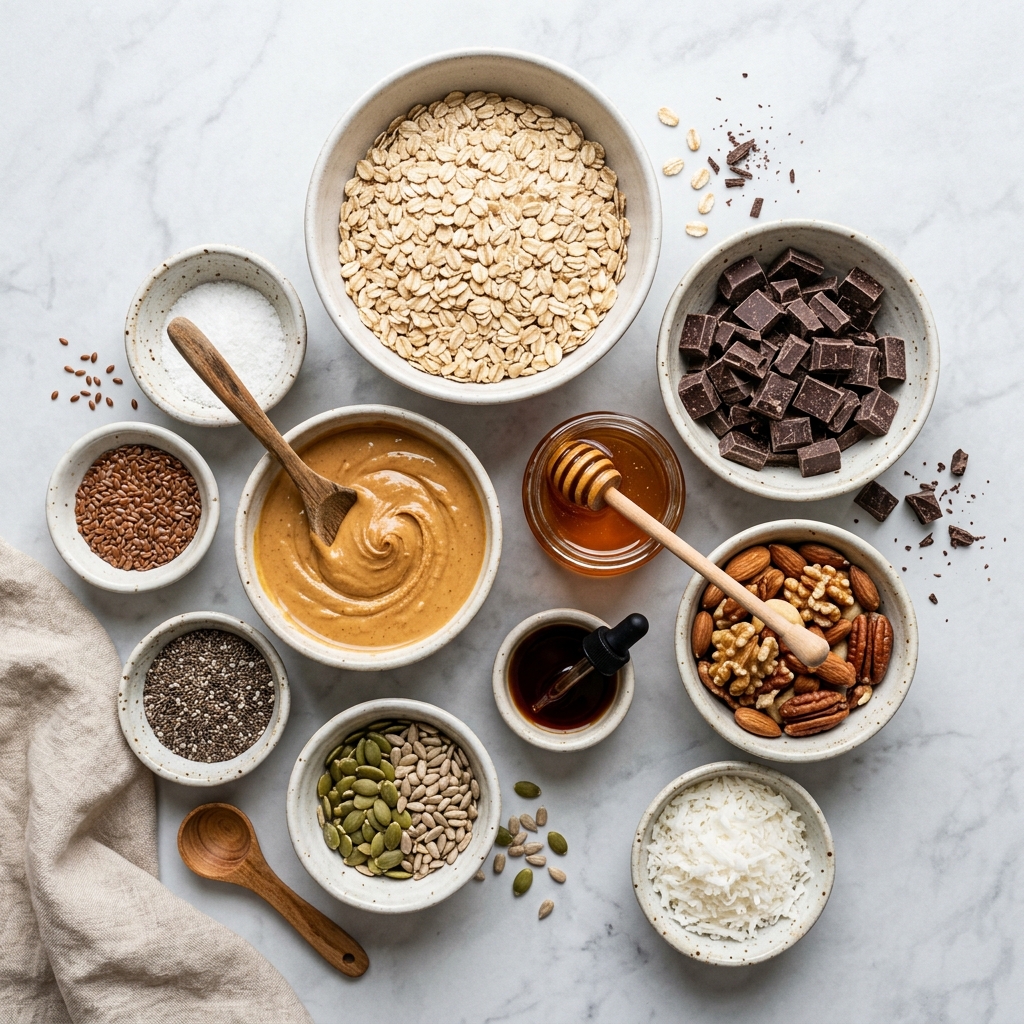
Before you begin, it’s important to understand the role of each ingredient. Great recipes are not just about combining items—they’re about creating balance and harmony.
Core Ingredients
- Rolled oats (2 cups)
Use old-fashioned rolled oats for the best texture. They provide structure and chewiness. Avoid quick oats, as they can make the bars too soft. - Creamy peanut butter (1 cup)
This is the backbone of the recipe. It binds everything together while adding richness and flavor. Natural peanut butter works well, but make sure it’s well-stirred. - Honey or maple syrup (½ cup)
Acts as a natural sweetener and helps hold the bars together. Honey gives a slightly floral sweetness, while maple syrup adds a deeper, caramel-like flavor. - Dark chocolate (¾ cup, chopped or chips)
Choose high-quality dark chocolate (60–70% cocoa) for a rich, slightly bitter contrast to the sweetness. - Vanilla extract (1 teaspoon)
Enhances all the flavors and adds warmth to the bars. - Salt (¼ teaspoon)
A small but crucial ingredient that balances the sweetness and intensifies the peanut butter flavor.
Optional Add-Ins (Highly Recommended)
- Chopped nuts (½ cup) – almonds, walnuts, or cashews for extra crunch
- Dried fruits (½ cup) – cranberries, raisins, or chopped dates for natural sweetness
- Seeds (2–3 tablespoons) – chia seeds, flaxseeds, or sunflower seeds for added nutrition
These additions are not mandatory, but they can elevate your bars both nutritionally and texturally.
Step-by-Step Preparation Guide
Creating perfect granola bars is all about technique. Follow these steps carefully to achieve that ideal chewy texture with a firm structure.
Step 1: Prepare Your Pan
Line a square baking pan with parchment paper, leaving some overhang on the sides. This will make it easier to lift the bars out later. Lightly grease the paper if needed.
Step 2: Toast the Oats
Place the rolled oats in a dry pan over medium heat. Toast them for about 4–5 minutes, stirring frequently until they become slightly golden and fragrant. This step enhances the flavor and gives your bars a deeper, nuttier taste.
Step 3: Melt the Peanut Butter Mixture
In a saucepan over low heat, combine the peanut butter and honey (or maple syrup). Stir continuously until the mixture becomes smooth and fully combined. Do not overheat—it should be warm, not boiling.
Once melted, remove from heat and stir in the vanilla extract and salt.
Step 4: Combine the Ingredients
In a large mixing bowl, add the toasted oats along with any optional ingredients like nuts, seeds, or dried fruits. Pour the warm peanut butter mixture over the dry ingredients and mix thoroughly until everything is evenly coated.
Step 5: Add the Chocolate
Allow the mixture to cool slightly before adding the dark chocolate. This prevents it from melting completely. Stir gently so that the chocolate is evenly distributed but still holds its shape.
Step 6: Press into the Pan
Transfer the mixture into your prepared pan. Use a spatula or the back of a spoon to press it down firmly and evenly. This step is crucial—pressing tightly ensures the bars hold together after setting.
Step 7: Chill Until Firm
Place the pan in the refrigerator for at least 2–3 hours, or until the mixture is completely firm. For best results, leave it overnight.
Step 8: Slice and Serve
Once set, lift the mixture out using the parchment paper. Cut into evenly sized bars or squares using a sharp knife.
Recipe Variations to Try
One of the most exciting parts of this recipe is how easily it adapts to different flavor profiles.
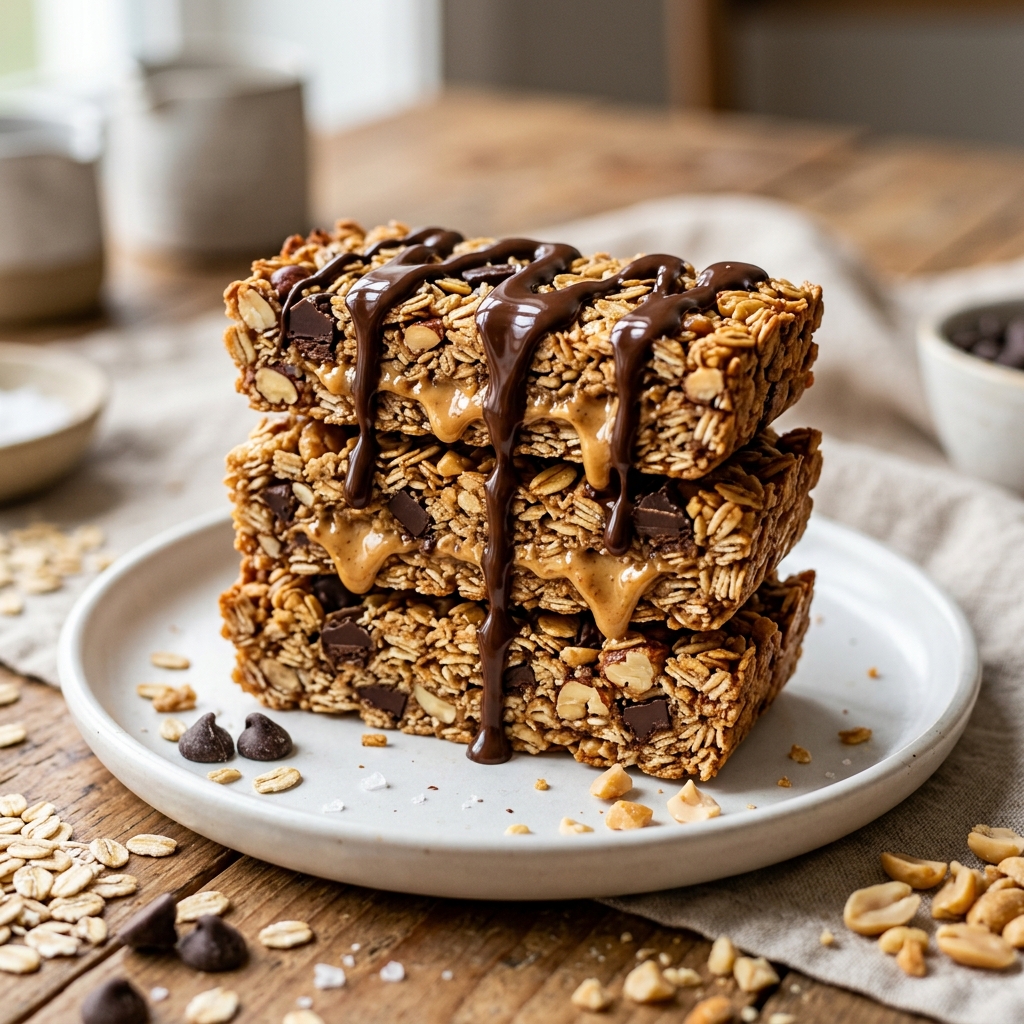
Chocolate Lover’s Version
Add extra dark chocolate chunks and drizzle melted chocolate on top before chilling for a more decadent finish.
Nut-Free Option
Replace peanut butter with sunflower seed butter and skip the nuts. This version is perfect for those with allergies.
Protein-Packed Bars
Mix in a scoop of your favorite protein powder. You may need to add a little extra honey or peanut butter to maintain the right consistency.
Tropical Twist
Add shredded coconut and dried pineapple for a bright, summery flavor profile.
Expert Tips for Perfect Granola Bars
- Press firmly, not lightly
The more compact the mixture, the better your bars will hold together. - Use quality chocolate
Since chocolate is a key flavor, investing in good-quality dark chocolate makes a noticeable difference. - Control the sweetness
Taste your mixture before pressing it into the pan. Adjust sweetness if needed. - Don’t skip toasting the oats
This small step adds depth and transforms the overall flavor. - Chill properly
Rushing this step can lead to crumbly bars. Patience pays off here.
Make Ahead Options
One of the greatest advantages of these homemade granola bars is how well they fit into a busy lifestyle. As a chef, I always emphasize recipes that can be prepared in advance without compromising quality—and this is one of them.
You can prepare a full batch of these granola bars up to 5–7 days ahead of time and store them properly (more on that below). In fact, making them ahead actually improves their texture, allowing the flavors to meld together more deeply over time.
If you like to stay organized, consider prepping the dry ingredients (oats, nuts, seeds, and dried fruits) and storing them in an airtight container. Then, when you’re ready, simply melt the peanut butter mixture and combine everything in minutes. This approach is especially helpful for meal preppers or anyone looking to maintain a consistent healthy snack routine.
For even longer planning, you can fully prepare and freeze the bars. When needed, just thaw a portion overnight in the refrigerator or for about 30 minutes at room temperature.
What to Serve with Homemade Granola Bars
While these granola bars are fantastic on their own, pairing them thoughtfully can elevate your eating experience.
For Breakfast
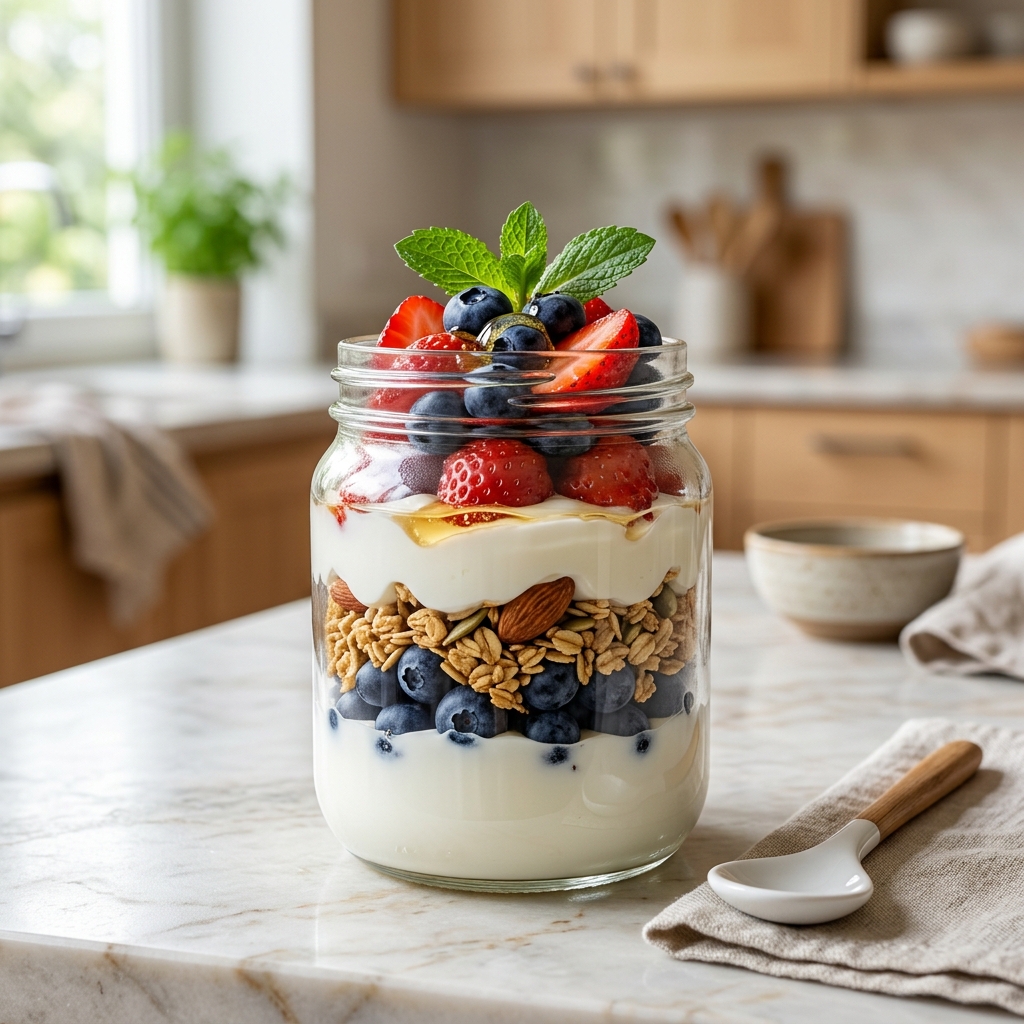
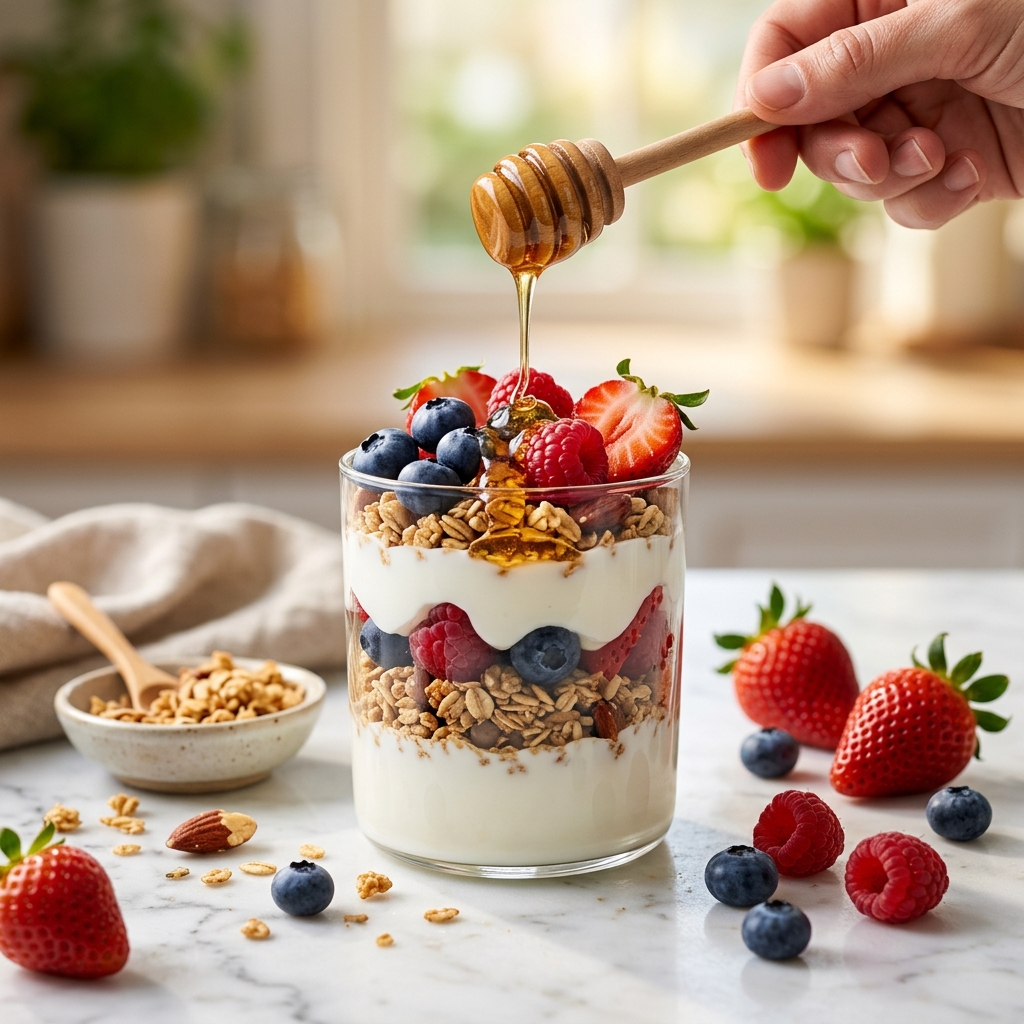
- Serve with a bowl of Greek yogurt and fresh berries for a balanced, protein-rich start to your day
- Pair with a smoothie—banana, peanut butter, and cocoa blends beautifully with the flavors of the bars
- Enjoy alongside a cup of coffee or tea for a quick, satisfying morning bite
As a Snack
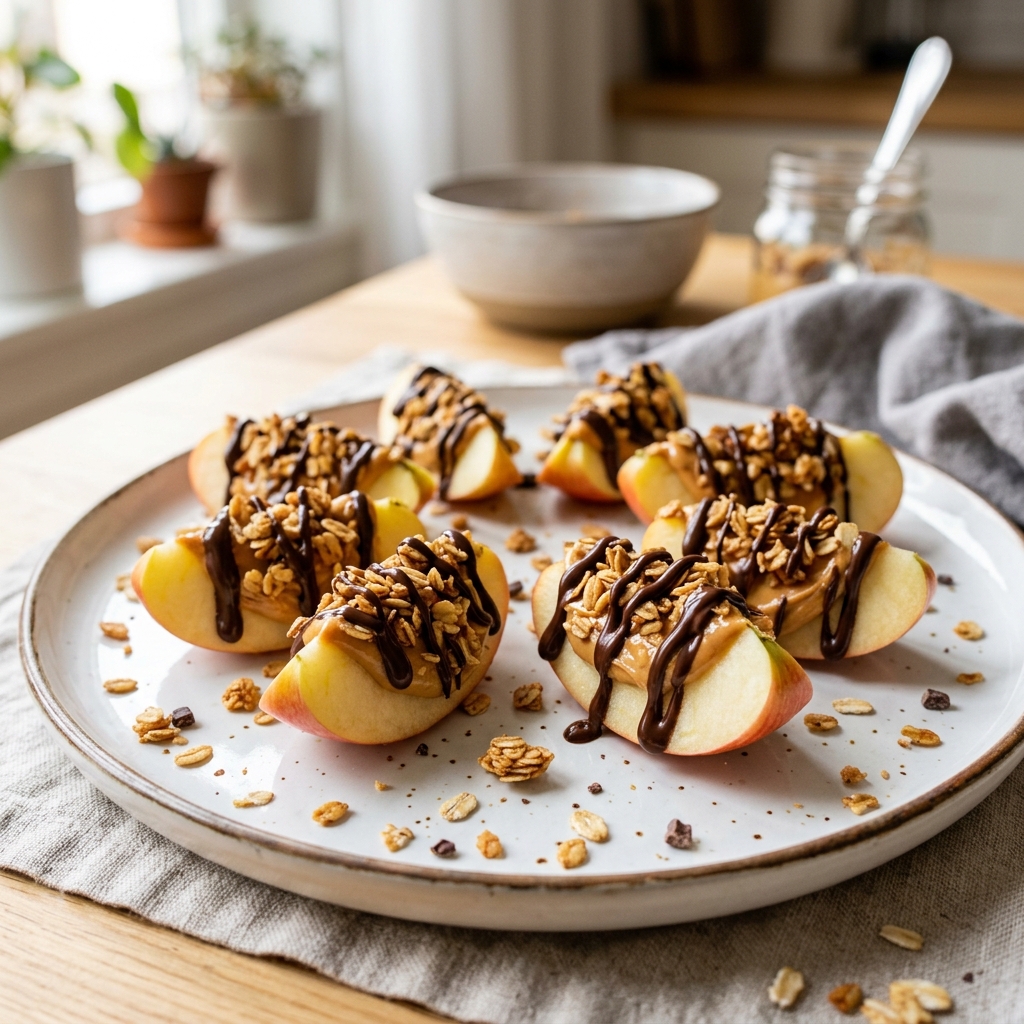
- Combine with a handful of fresh fruit like apples or bananas
- Pair with a glass of cold milk or a plant-based alternative
- Add to a snack board with nuts and dried fruits for variety
As a Dessert
- Warm slightly and serve with a scoop of vanilla ice cream
- Drizzle extra melted dark chocolate over the top for a more indulgent treat
- Crumble over yogurt or parfaits for added texture and flavor
How to Store Homemade Granola Bars
Proper storage is essential to maintain the texture and freshness of your granola bars.
At Room Temperature
If your kitchen is cool, you can store the bars in an airtight container at room temperature for up to 3 days. Keep them away from direct sunlight or heat, as the chocolate may soften.
In the Refrigerator
For best results, store the bars in the refrigerator. Place them in a sealed container with parchment paper between layers to prevent sticking. They will stay fresh for up to 1 week and maintain a firm, chewy texture.
In the Freezer
These granola bars freeze exceptionally well. Wrap each bar individually in parchment paper and place them in a freezer-safe bag or container. They can last up to 2–3 months.
When ready to eat, thaw at room temperature or in the refrigerator. The texture remains remarkably close to freshly made.
Frequently Asked Questions (FAQs)
1. Why are my granola bars falling apart?
This usually happens when the mixture hasn’t been pressed firmly enough into the pan or when there isn’t enough binding ingredient (peanut butter or honey). Make sure to press the mixture down tightly and measure ingredients accurately.
2. Can I make these granola bars vegan?
Absolutely. Simply use maple syrup instead of honey and ensure your dark chocolate is dairy-free. The result will be just as delicious and satisfying.
3. Can I use quick oats instead of rolled oats?
You can, but it will change the texture. Quick oats tend to produce softer, less structured bars. For the best chewy consistency, rolled oats are strongly recommended.
4. How do I prevent the chocolate from melting when mixing?
Allow the oat and peanut butter mixture to cool slightly before adding the chocolate. This helps the chocolate maintain its shape instead of melting completely into the mixture.
5. Are these granola bars healthy?
Yes, especially compared to store-bought versions. They are made with wholesome ingredients like oats, natural peanut butter, and dark chocolate. You can also control the sugar content and customize them to suit your dietary preferences.
6. Can I add other flavors like cinnamon or coconut?
Definitely. A pinch of cinnamon adds warmth, while shredded coconut brings a subtle sweetness and texture. These small additions can create entirely new flavor profiles.
7. How do I make them crunchier instead of chewy?
If you prefer a crunchier bar, bake the pressed mixture in the oven at a low temperature (around 160°C / 320°F) for 10–15 minutes before chilling. This removes some moisture and creates a firmer texture.
Conclusion
Homemade granola bars with peanut butter and dark chocolate are more than just a recipe—they’re a lifestyle upgrade. They represent everything we want from modern home cooking: simplicity, control, flavor, and nourishment. Once you make them yourself, it becomes difficult to go back to store-bought alternatives.
As a chef, I can tell you that the magic of this recipe lies in its balance. It’s indulgent without being overwhelming, nutritious without being boring, and simple without lacking sophistication. Whether you’re preparing them for yourself, your family, or even as part of your content creation for your audience, these bars deliver every single time.
Master this recipe, and you’ll always have a reliable, delicious snack ready whenever you need it.
Homemade Granola Bars with Peanut Butter and Dark Chocolate
Ingredients
Equipment
Method
- Line a square baking pan with parchment paper, leaving overhang for easy removal.
- In a dry pan over medium heat, toast oats for 4–5 minutes until lightly golden and fragrant. Set aside.
- In a saucepan over low heat, combine peanut butter and honey (or maple syrup). Stir until smooth and melted. Remove from heat and add vanilla extract and salt.
- In a large bowl, mix toasted oats with optional add-ins. Pour in the peanut butter mixture and stir until evenly coated.
- Let the mixture cool slightly, then fold in the dark chocolate.
- Transfer mixture into prepared pan and press down firmly and evenly.
- Refrigerate for 2–3 hours or until firm.
- Lift from pan and cut into bars or squares.
Notes
Use high-quality dark chocolate for the best flavor.
Allow mixture to cool slightly before adding chocolate to avoid melting.
Store in the refrigerator for best texture and freshness.
Can be frozen for up to 3 months for long-term storage.